CircleCI is a Continuous Integration platform for GitHub projects.
CircleCI can run the projects' tests automatically whenever new code is pushed to the repo. This ensures that existing functionality and features have not been broken by the changes.
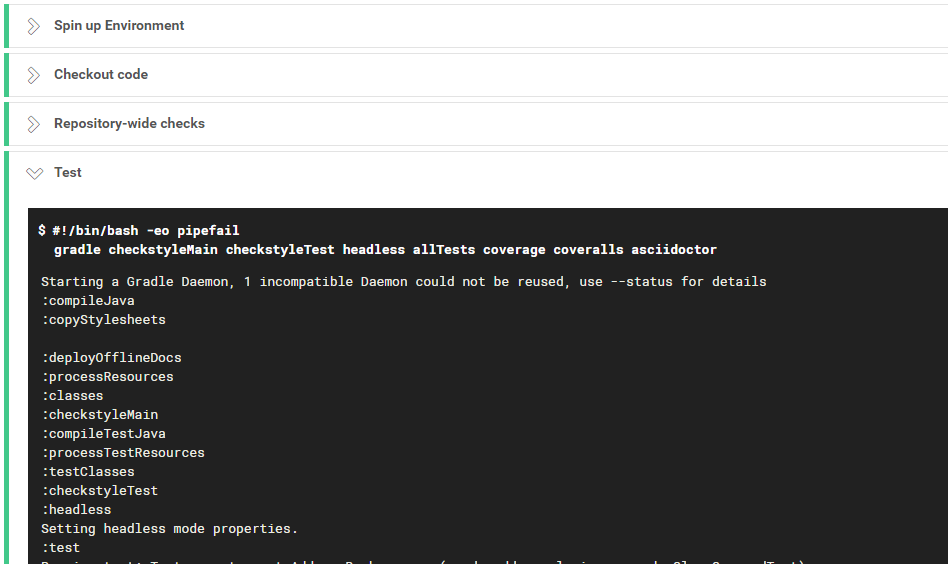
The current CircleCI set up performs the following things whenever someone push code to the repo:
-
Runs the
gradle checkstyleMain checkstyleTest headless allTests coverage coveralls asciidoctorcommand (see UsingGradle for more details on what this command means). -
Runs additional repository-wide checks.
If you would like to customise your CircleCI build further, you can learn more about CircleCI from CircleCI Documentation.
Setting up CircleCI
-
Fork the repo to your own organization.
-
Go to https://circleci.com/signup/ and click
Sign Up with GitHub, then enter your GitHub account details if needed.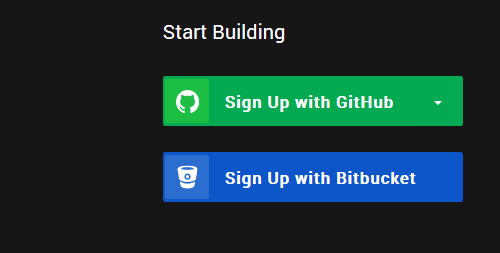
-
On the Dashboard, select your organization in the drop-down box at the top left corner.

-
If the organization is not shown, go to the Account Integrations page, and click on
Check permissionsas shown below: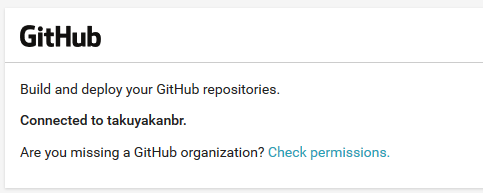
This should bring you to a GitHub page that manages the access of third-party applications. Depending on whether you are the owner of the repository, you can either grant access

or request access

to CircleCI so that it can access your commits and build your code.
-
-
Select
Add Projectsfrom the left sidebar.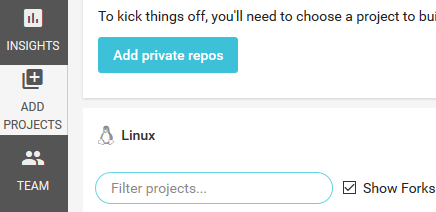
-
Find the forked repository that you wish to add, and select
Set Up Project.
-
The next page explains how to configure your project so that CircleCI can test your commits. Since this repo comes with a CircleCI
config.yml, there is no need for you to create one yourself. -
Click on
Start building.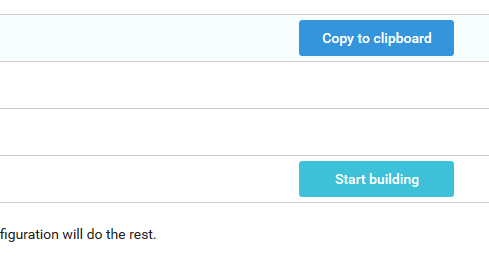
-
CircleCI will start building your latest commit on
master.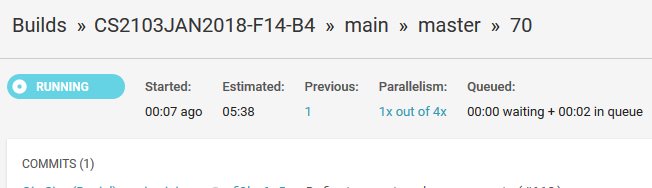
-
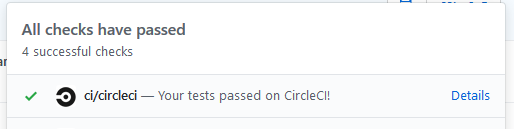
Go to the repository and see the pushed commit. There should be an icon which will link you to the CircleCI build.
-
As the build is run on a provided remote machine, we can only examine the logs it produces:
-
-
Update the link to the 'build status' badge at the top of the
README.adocto point to the build status of your own repo.-
For a more consistent styling, you can use the badges from Shields.io. Simply copy the code below, and replace the
<username>with your GitHub username (or GitHub organization, if your repository belongs to one) and<repo>with your repository name.https://circleci.com/gh/<username>/<repo>/tree/master[image:https://img.shields.io/circleci/project/github/<username>/<repo>.svg?label=circleci[Build Status]]
-
Building pull requests
In order to allow CircleCI to build and test pull requests, there are a few options we need to enable.
-
Go to your Dashboard and click on the cog beside your repository.
-
Select the
Advanced Settingstab.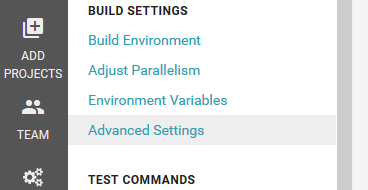
-
Turn
Onthe following options:Build forked pull requests,Pass secrets to builds from forked pull requests, andOnly build pull requests. This last option lets CircleCI skip the building of thegh-pagesbranch.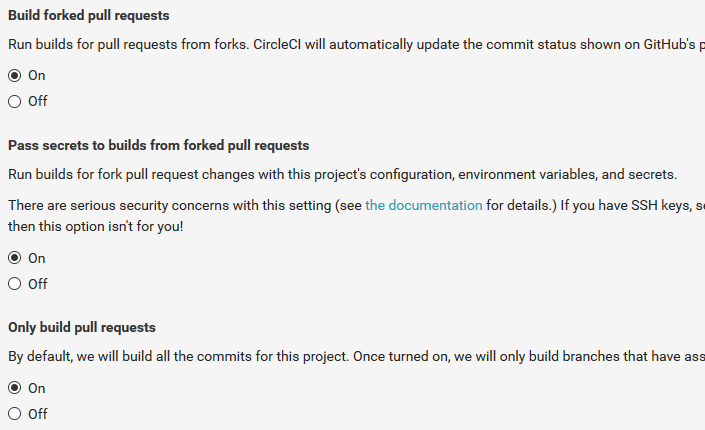
Repository-wide checks
In addition to running Gradle checks, we also configure CircleCI to run some repository-wide checks. Unlike the Gradle checks which only cover files used in the build process, these repository-wide checks cover all files in the repository. They check for repository rules which are hard to enforce on development machines such as line ending requirements.
These checks are implemented as POSIX shell scripts, and thus can only be run on POSIX-compliant operating systems such as macOS and Linux. To run all checks locally on these operating systems, execute the following in the repository root directory:
./config/travis/run-checks.shAny warnings or errors will be printed out to the console.
Implementing new checks
Checks are implemented as executable check-* scripts within the config/travis/ directory. The run-checks.sh script will automatically pick up and run files named as such.
Check scripts should print out errors in the following format:
SEVERITY:FILENAME:LINE: MESSAGE
where SEVERITY is either ERROR or WARN, FILENAME is the path to the file relative to the current directory, LINE is the line of the file where the error occurred and MESSAGE is the message explaining the error.
Check scripts must exit with a non-zero exit code if any errors occur.